Campus Webmail (Outlook for the Web)
On any browser you will be able to access your University email via https://webmail.louisiana.edu as well as the Mail icon in ULink, Moodle, & the UL Lafayette App.
Using a web browser:
Like we mentioned above you can get to Outlook for the Web via this URL: https://webmail.louisiana.edu as well as the links in ULink, Moodle, & the UL Lafayette App.
If you are going to Outlook via a browser you should see this login page:
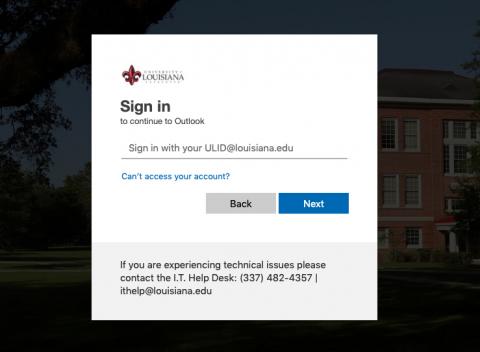
***You will always sign in using your ULID@louisiana.edu. You cannot use an Alias to Sign In***
Once you signin to Outlook for the Web you should see your University email. Your Email, Calendars, Tasks & Contacts should be available. We have a tutorial PDF on how to login to Outlook for the Web.
University Email (Outlook) WILL Have:
- Contacts
- Calendars
- Tasks
University Email (Outlook) Will NOT Have:
- The ability to forward your email off-campus (This has been disabled)
We will be able to recreate your sorting rules in Outlook. Please see below for links on how to use Outlook for the Web (Microsoft Office 365 Outlook for the Web Help):
- Create, reply to, or forward email messages in Outlook on the web
- Create and add an email signature in Outlook on the web
- Attach files in Outlook on the web
- Block senders or unblock senders in Outlook on the web
- Junk Email Settings
- Focused Inbox for Outlook
- Personalize your new Mail experience in Outlook on the web
- Use inbox rules in Outlook on the web
- Use categories in Outlook on the web
Outlook Calendar:
- Calendar settings in Outlook on the web
- Share your calendar in Outlook on the web
- Create, modify, or delete a meeting request or appointment in Outlook on the web
- Import or subscribe to a calendar in Outlook on the web
- Manage someone else's calendar in Outlook on the web
- Working with multiple calendars in Outlook on the web
Outlook Contacts & Tasks:
- Using contacts (People) in Outlook on the web
- Create, view, and edit contacts or contact lists in Outlook on the web
- Use Tasks in Outlook on the web
Outlook Client on Desktops & Laptops will not be supported as of yet. You can look at our Microsoft 365 Projects page to view our release timeline.
Please call or email the IT Service Desk for any questions or help you may need.
Share Your Mail Folders in Microsoft 365 Outlook for the Web:
If you are sharing your Inbox, just follow the steps in Part One below. This is also true for sharing Sent Items, Deleted Items, or Drafts.
If you are sharing any folder lower in the hierarchy than your Inbox, be sure to follow the steps in both Part One and Part Two below.
Part One - Sharing the Contents of a Folder
This example shares your Inbox, but you can share any mail folder on the Exchange server. If you share a folder other than your Inbox, complete these steps AND the steps in Part Two below.
- Right-click the folder you want to share. (You can only share folders on the Exchange server, not local folders.) From the menu that appears, click Permissions. A Permissions dialog box will open.
- If the person (or group) you are going to share with is already listed in the table at the top of this dialog box, skip down to step 6.
- Click the plus sign near the top left of the dialog box.
- Enter all or part of the person's name or email address. Outlook will display matching entries from the directory.
- Select the desired entry, then click Add.
- With the person you're about to share with highlighted in the table at the top of the dialog box, use the Permission level drop-down list to select the desired level of access:
- Reviewer - the person can read items in your folder, but can't add, delete, or change anything.
- Author - the person can read and create items, and can modify and delete items that he or she creates. For example, the person can create task requests and meeting requests directly in your Calendar folder. The person cannot modify or delete something the you created.
- Editor - the person can do everything that an Author has permission to do and can modify and delete the items that you created.
- Click OK.
Part Two - Making Higher-Level Folders Visible
If you shared your Inbox in Part One above, you do not need to read any further or do any of the steps here in Part Two.
If you shared a folder lower in the hierarchy than your Inbox (that is, a folder "inside" your Inbox, Sent Items, Deleted Items, or Draft), you'll also need to make the "parents" of that folder visible so that the person can navigate to the folder you've shared. They won't be able to see the items in those other folders.
In the left column of Outlook on the Web's mail display, right-click the name of your account (the entry just above your Inbox, probably your name or ULID). From the menu that appears, click Permissions. A Permissions dialog box will open.
With the person you're about to share with highlighted in the table at the top of the dialog box, click to put a checkmark next to Folder Visible in the Other section. Do not change the Permission level.
Click OK.